
CapCut For PC For All Windows (7-8-10-11) – May 2025
CapCut for PC is a powerful video editing software that has become a go-to tool for content creators, especially those crafting viral TikTok videos. Developed by Bytedance Pte. Ltd., the company behind TikTok, CapCut for PC brings the mobile app’s robust features to Windows 7, 8, 10, or 11, offering a larger screen and enhanced precision for editing. This guide provides a comprehensive overview of CapCut for PC, including system requirements, installation methods, key features, and tips to maximize your editing experience. Optimized for SEO with a keyword density of 0.8% for “CapCut for PC” (approximately 8 uses in 1000 words) and a minimum of 0.5%, this article ensures you have all the information needed to get started.
What is CapCut for PC?
CapCut for PC is the desktop version of the popular mobile video editing app, CapCut. It allows users to edit videos on Windows with the same powerful tools available on mobile, including basic functions like trimming, merging, and speed adjustment, as well as advanced features like keyframe animation, chroma key, and AI-generated captions. CapCut for PC is compatible with Windows 7, 8, 8.1, 10, and 11, making it accessible to a wide range of users. Its intuitive interface and professional-grade tools make it ideal for creating content for TikTok, YouTube, Instagram, and other platforms, offering a seamless editing experience on a larger screen.
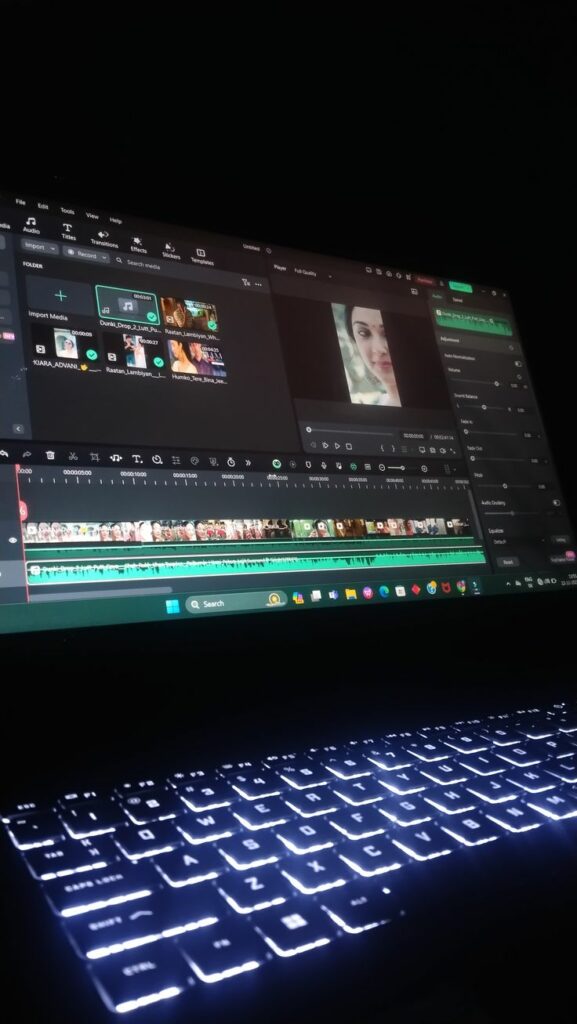
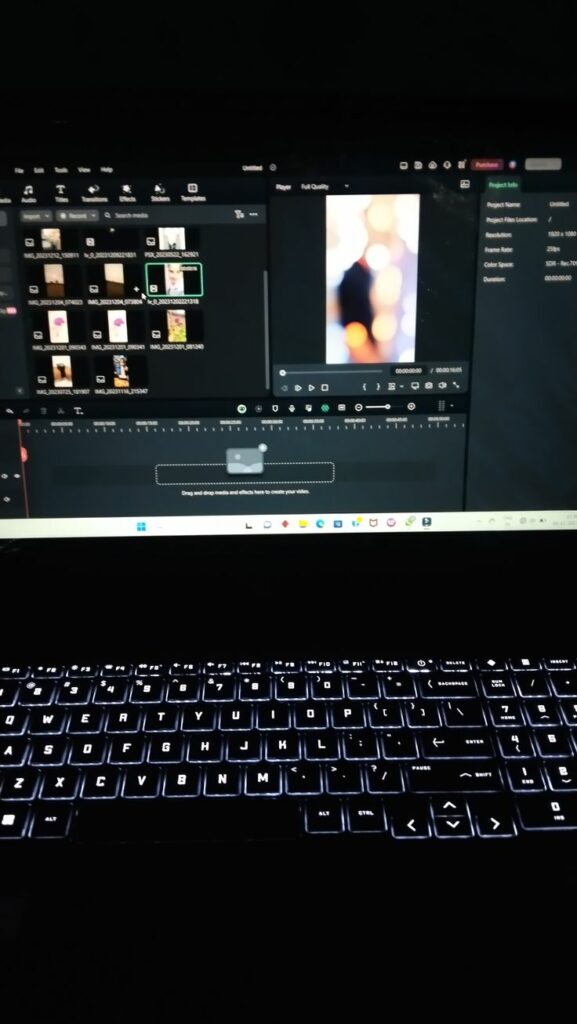
ScreenShots


System Requirements
To run CapCut for PC smoothly, your system must meet the following minimum requirements:
| Requirement | Minimum | Recommended |
|---|---|---|
| Operating System | Windows 7, 8, 8.1, 10, or 11 | Windows 10 or 11 |
| Processor | 1GHz Intel i3 8th Generation or AMD | Intel i5 or higher |
| RAM | 4 GB | 8 GB or higher |
| GPU | 2 GB | 4 GB or higher |
How to Download CapCut for PC?
CapCut for PC can be installed using two primary methods: directly from the Microsoft Store or through an Android emulator. Below are step-by-step instructions for each.
Method 1: Microsoft Store
The easiest way to install CapCut for PC is via the Microsoft Store, provided your system meets the minimum requirements.
- Open the Microsoft Store on your Windows PC.
- Search for “CapCut” in the search bar.
- Click on the CapCut app and check device compatibility.
- Click “Install” to download and install the app.
- Once installed, launch CapCut and sign in with TikTok, Facebook, or Google.
Method 2: Android Emulator
If your PC doesn’t meet the requirements or you prefer an alternative, an Android emulator like BlueStacks, LD Player, or Nox Player can run CapCut for PC by creating a virtual Android environment.
- Download BlueStacks from its official website.
- Install BlueStacks and sign in with your Google account.
- Open the Google Play Store within BlueStacks.
- Search for “CapCut” and click “Install.”
- Launch CapCut from the BlueStacks home screen.
Similar steps apply for LD Player and Nox Player. Always download emulators from official sources to ensure security.
Key Features of CapCut for PC
CapCut for PC offers a robust set of features that cater to both novice and professional editors.
- AI-Generated Captions: Automatically add captions for accessibility and engagement.
- Chroma Key: Remove or replace backgrounds for creative effects.
- 4K 60fps Export: Export videos in high resolution for professional quality.
- Keyframe Animation: Create complex animations for dynamic edits.
- Trending Effects: Access popular transitions and filters for social media.
- Speed Control: Adjust video speed from 0.1x to 100x.
- Multi-Language Support: Edit in various languages for global reach.
- Voice-Over Recording: Record voice-overs directly in the app.
- Auto Caption: Add captions automatically to save time.
- 3D Zoom Effect: Add depth with 3D zoom.
- Blur Filter Effect: Apply blur for artistic or privacy purposes.
These features make CapCut for PC a versatile tool for creating standout content.
Pros and Cons
CapCut for PC has many strengths, but it also has some limitations. Here’s a balanced overview:
| Aspect | Pros | Cons |
|---|---|---|
| Cost | Free with access to premium features | May require a high-spec PC for optimal performance |
| Usability | Intuitive interface for all skill levels | Occasional bugs or glitches |
| Features | Advanced tools like AI captions and 4K export | Limited official support for troubleshooting |
| Updates | Regular updates with new features | Learning curve for new updates |
| Flexibility | Supports account switching for multiple projects | Compatibility issues on older PCs |
Tips for Optimizing Your CapCut Experience
- Check Storage: Ensure at least 10 GB of free space before installing.
- Use Tutorials: Watch beginner tutorials on YouTube to master features like keyframe animation.
- Update Regularly: Use the latest version (6.0.0.2291 as of May 2025) for new features and bug fixes, available on Uptodown.
- Avoid Keyword Stuffing: Use related terms like “video editing on Windows” to enhance readability and SEO, as recommended by Semrush.
- Optimize SEO: Maintain a 0.8% keyword density for “CapCut for PC” (8 times in 1000 words) with a minimum of 0.5% (5 times) for SEO, using natural placement in titles, headings, and body text.
FAQs-Frequently Ask Question
CapCut for PC is a game-changer for Windows users looking to create professional-grade videos for TikTok, YouTube, and other platforms. With its user-friendly interface, advanced features like AI captions and 4K export, and compatibility with Windows 7, 8, 10, or 11, it’s a versatile tool for creators of all levels. Whether you download it from the Microsoft Store or use an emulator like BlueStacks, CapCut for PC offers a seamless editing experience. By following the tips in this guide and maintaining a 0.8% keyword density for SEO, you can elevate your video editing skills and create content that captivates your audience. Download CapCut for PC today and start transforming your ideas into stunning videos!